
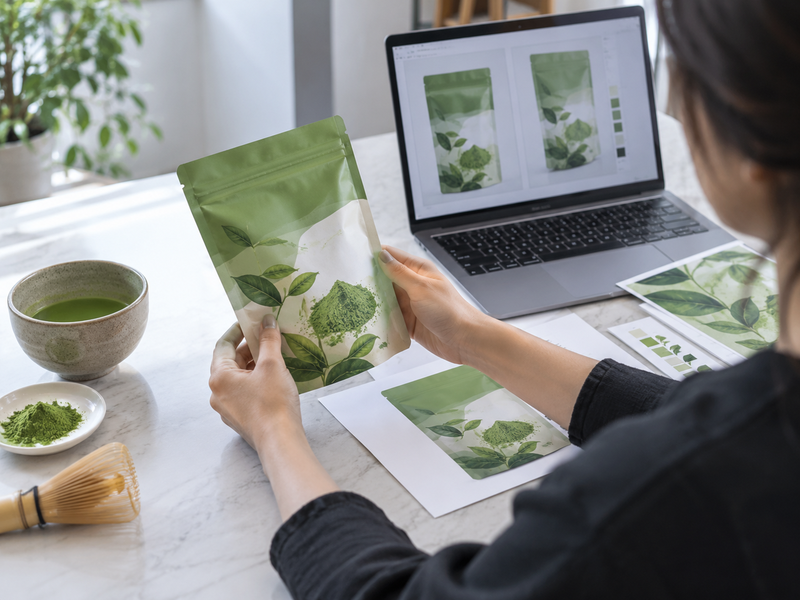
Artwork errors become expensive when printed packaging is already on the filling line. A supplier may receive a visually approved PDF that still has the wrong dieline, a barcode too close to a fold, or no reliable space for lot and date coding. Matcha packaging artwork approval works best as a controlled release process with named reviewers and a physical print check. This guide gives buyers, designers, and packaging teams a shared sequence from the first technical file to the approved press sample. The matcha artwork and dieline checklist illustrates the practical issues; every final dimension and claim should still be checked for the actual product and market.
Contents
- Who must approve matcha packaging artwork?
- Which dieline should the designer use?
- How do you protect essential text from folds and seals?
- What makes a barcode ready for print?
- Where should lot and date codes go?
- How should label claims and translations be reviewed?
- What color and proof controls matter for matcha?
- How do you control artwork versions across SKUs?
- What should be checked on a physical trial pack?
- What belongs in the final print-release record?
1. Who must approve matcha packaging artwork?
Give each reviewer a defined decision
The buyer owns the commercial identity and approved copy. The packaging converter owns print and structural feasibility. The filling site must confirm that the design fits its equipment and leaves a working code area. Quality or regulatory reviewers assess the product-specific information and the destination-market requirements. One person can hold several roles in a small business, but every role still needs a named signoff. A designer should never have to infer whether a language version or nutrition panel has been approved.
| Reviewer | Approval question | Evidence |
|---|---|---|
| Brand owner | Is the intended SKU and message correct? | Signed content proof |
| Packaging converter | Can this file print on the chosen structure? | Preflight and dieline check |
| Filling site | Will it run and code correctly? | Line trial or setup review |
| Quality/regulatory | Are required details approved for this market? | Reviewed master copy |
Start an approval log with the SKU, pack size, market, language, material specification, and current file revision. Record each reviewer’s comments in one place. An email saying “looks good” is not enough if it is unclear which version, side panel, or claim was reviewed. Close every open comment before sending a print-ready file.
2. Which dieline should the designer use?
Start with the converter’s controlled drawing
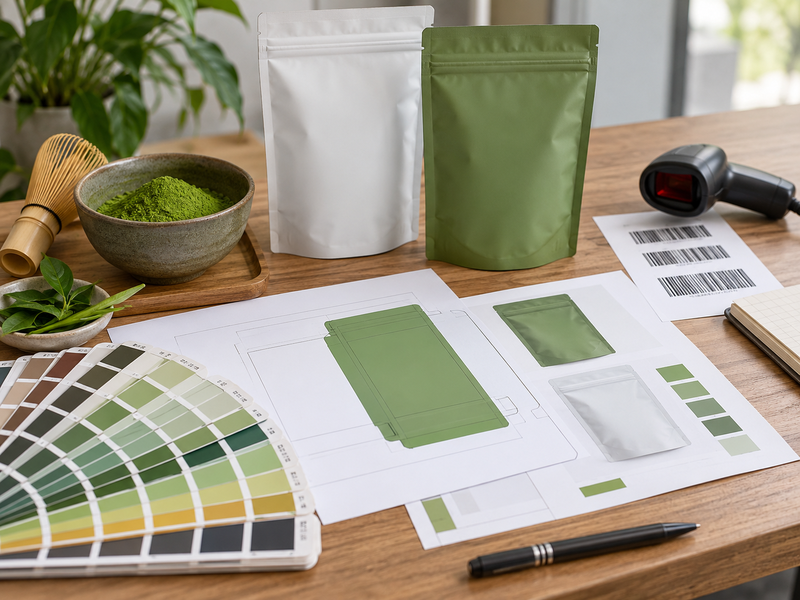
Request the exact dieline for the selected pouch, tin label, carton, or sleeve from the party that will make it. It should identify cut, fold, seal, gusset, overlap, bleed, and safe-text zones, along with units and revision. A dieline for a nominally similar pack can differ at the seal or bottom gusset. The designer should lock the structural layer and place graphics on separate named layers so the cut line does not accidentally print. Ask the converter to confirm the final PDF against its drawing.
| Dieline item | Why it matters | Buyer check |
|---|---|---|
| Cut edge | Defines finished shape | Correct pack format |
| Seal area | Heat and pressure contact | No critical copy or code |
| Fold or gusset | Can hide text and graphics | Readable assembled pack |
| Bleed | Covers normal trim variation | No white edge risk |
| Safe zone | Keeps essentials visible | Text clear of edges |
Dimensions should come from an approved packaging specification, not from an image on a competitor site. If the supplier changes the film structure or pack size, reopen artwork approval. A “minor” structural adjustment can move text into a seal or change how the front panel appears after filling.
3. How do you protect essential text from folds and seals?
Review the assembled pack, not only a flat proof
Lay the flat artwork over a physical mockup and mark which panels are visible when the pouch is filled, sealed, and standing. Check product name, net quantity, ingredient and other required information, preparation directions where applicable, and any warnings approved for the market. Keep text outside the converter’s seal and fold limits. A wide illustration can cross a gusset safely; a small legal line generally cannot. Read the pack at normal viewing distance and under realistic shop or warehouse light.
Do not rely on a generic “safe margin” copied from another pack. The converter’s tolerances and the filling equipment determine the usable area. If a tear notch or zipper is added, check the opening path so the customer does not tear through instructions or a code. Compare the same finished pack in empty and filled conditions: powder can change the pouch shape and obscure lower text. Save photos of the approved mockup as part of the version record. The packaging checklist example is useful for prompting these checks, while the signed converter drawing governs the final layout.
4. What makes a barcode ready for print?
Verify data and scan performance separately
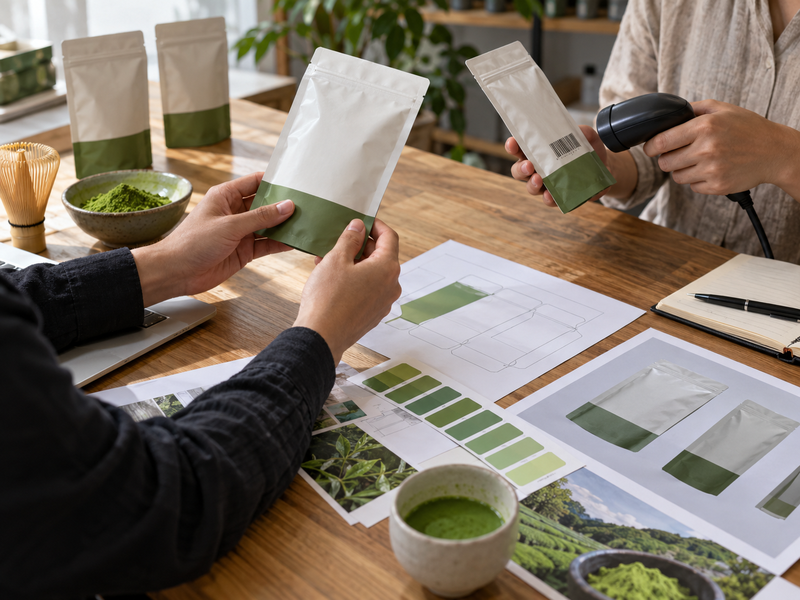
First confirm that the assigned identifier belongs to the correct saleable unit and market. Then assess the printed symbol on the actual packaging material. GS1’s barcode quality guidance calls attention to size, height, quiet zones, contrast, colors, and scanner access. A barcode that scans on a bright office printer may fail on a glossy curved pouch or tin. Keep it away from seams, gussets, wrinkles, and likely glare. Do not stretch its bars to fit a design gap.
| Check | Desk proof | Physical sample |
|---|---|---|
| Encoded data | Compare to approved SKU record | Scan and compare output |
| Quiet zones | Measure in artwork | Check no print encroaches |
| Contrast | Inspect chosen colors | Test on production substrate |
| Position | Review dieline | Scan filled pack in normal orientation |
Ask the converter for its verification method and retain the result for the printed batch. The retailer or logistics partner may have specific acceptance criteria; obtain them before locking artwork. A failed scan after printing can lead to relabeling, delay, or unusable stock even when the matcha itself is acceptable.
5. Where should lot and date codes go?
Reserve a real coding window
The code area needs sufficient blank space, suitable contrast, and a surface the site’s coder can mark consistently at production speed. Agree the format of the lot identifier and any date statement with the supplier and destination-market reviewer. Check whether the code is printed on the primary pack, a label, the case, or more than one surface. Its location must remain visible after sealing, folding, and application of any promotional sticker. Do not assume an attractive dark panel will accept every ink or laser system.
| Coding decision | Ask the filling site |
|---|---|
| Location | Can the head reach it on the running pack? |
| Substrate | Does the chosen ink or process adhere? |
| Characters | Can the full lot/date string be read? |
| Inspection | How is a missing or blurred code rejected? |
| Rework | What happens to miscoded packs? |
Run a short coded-pack trial using the final film and the expected line speed. Examine samples from startup, steady running, and after a stop. The buyer should approve the field and readability standard before mass printing. This is a traceability design decision as much as a graphics decision.
6. How should label claims and translations be reviewed?
Treat approved copy as controlled input
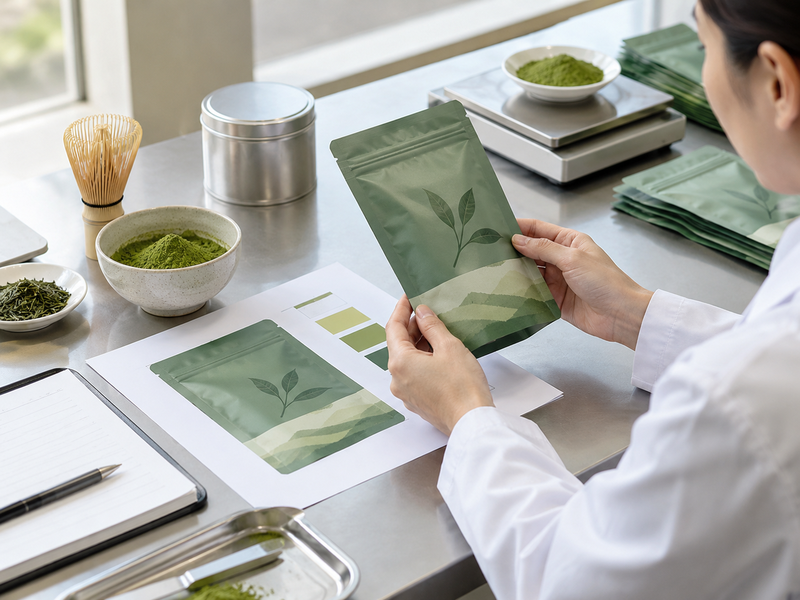
Make a master copy sheet for each market and language. It should include the product identity, ingredient statement, net quantity, business details, required declarations, and any voluntary claims the brand intends to make. Have a qualified reviewer check the actual formulation and applicable market rules before artwork release. The FDA Food Labeling Guide can orient US label review, but the FDA notes that parts of the guide have been superseded; current rules and product facts govern. Other markets need their own review.
Never let a designer translate “organic,” “ceremonial,” origin, health, or allergen statements by visual analogy. These words may require substantiation or have market-specific meaning. Give translators the approved source text, product context, and a second reviewer for the finished layout. Check that small characters, punctuation, symbols, and units survive export to the print PDF. A legally reviewed spreadsheet is not enough if the graphic file contains an older line of copy. For supplier diligence, use the site’s quality overview as a starting point for asking how product specifications and artwork approvals are linked.
7. What color and proof controls matter for matcha?
Set a measurable visual target
Matcha packaging often relies on subtle green shades, so color variation between monitor, paper proof, and printed film can surprise a buyer. Agree the intended color system, substrate, print process, and acceptable proof with the converter. View the proof under agreed lighting. If a photograph of powder or a drink appears, distinguish a styled illustration from a product color specification; printed imagery cannot substitute for a physical matcha sample. Ask for a production press proof or first printed samples before approving the full run where the order size warrants it.
| Proof stage | What it can confirm | What it cannot confirm |
|---|---|---|
| Screen PDF | Copy, placement, version | Final print color |
| Digital hard proof | Approximate layout and tone | Every substrate effect |
| Press sample | Actual material and print | Future run without controls |
Keep an approved physical standard and the file reference together. If the converter changes film, ink, coating, or press, reassess color and readability. A buyer can reject an aesthetic drift only when both sides know the accepted standard and the agreed way to judge it.
8. How do you control artwork versions across SKUs?
Make the approved file unmistakable
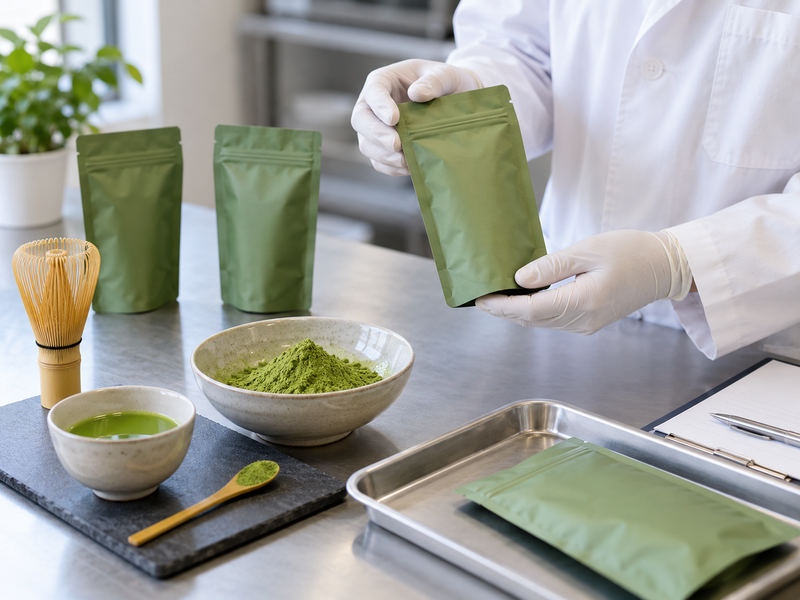
Use one naming rule that includes SKU, market, language, pack format, and revision. Store the editable source, print PDF, master copy, dieline, and approval log under that revision. Mark superseded files clearly and remove them from the printer’s active folder. When an ingredient, quantity, barcode, business address, or mandatory text changes, create a new revision and route it through the affected reviewers. Do not overwrite the old file silently; existing printed inventory may still carry it.
Build an SKU matrix so similar designs can be checked side by side. A ceremonial and culinary grade may share colors while requiring distinct product identity or use instructions. Likewise, a 30 g retail pouch and a 1 kg foodservice bag need separate net-quantity and barcode checks. At each print order, match the purchase order to the approved revision and request the printer’s confirmation. The most common version error is not an obviously bad graphic; it is a polished file for the wrong product or market.
9. What should be checked on a physical trial pack?
Run the pack through the real process
Use final or representative production material and fill the pack at the intended weight and line speed. Check seal quality under the site’s validated methods, zipper or closure operation if included, label placement, code readability, barcode scanning, and case fit. Look for graphics hidden by the powder shape and copy distorted at the seal. Have the line operator, quality reviewer, converter, and buyer review the same samples. Record defects with photos and decide whether the issue requires an artwork change, a machine adjustment, or a material change.
| Trial observation | Likely owner | Approval response |
|---|---|---|
| Text enters seal | Design/converter | Revise layout |
| Code rubs or blurs | Filler/converter | Test surface and coder |
| Barcode will not scan | Converter/brand | Verify print and position |
| Filled pouch hides copy | Design | Move copy to visible panel |
Do not release the bulk print order on a flat PDF alone when a novel structure or coding location is involved. The site’s bulk wholesale matcha page can guide commercial pack discussions; the physical trial is where pack-specific feasibility is established.
10. What belongs in the final print-release record?
Approve one defined production file
The release record should state the exact SKU, material, converter, dieline revision, artwork revision, language and market, barcode data, code window, approved proof, and quantity authorized for print. Attach the master copy approval and the physical trial result if applicable. Record who approved each element and when. Any open deviation must have an owner and a specific decision; silence should not count as approval. Tell the converter which file is final and request written acknowledgment before plates, cylinders, or print setup are made.
When printed material arrives, compare a sample with the approved proof, confirm the revision and code area, and scan the barcode. Hold mismatched stock while the parties decide disposition. Keep a record of which packaging revision was used on each finished lot so a later correction can be traced. This small release discipline gives a buyer a clear answer when a retailer, warehouse, or production line finds a problem.
FAQ
Q1. Can a screen PDF be the final approval? It can approve content and placement, but a physical proof or trial may be needed to confirm print, coding, and assembled-pack behavior.
Q2. Who provides the dieline? The actual packaging converter or approved structural supplier should provide and control the drawing used for production.
Q3. Does a scannable office barcode prove retail readiness? No. Verify data and scan quality on the printed production substrate and filled pack.
Q4. Should a small text correction create a new revision? Yes. A traceable revision prevents a printer or factory from using an older, visually similar file.
Q5. What should a buyer ask for before bulk print? Request the approved print PDF, converter preflight, master copy signoff, barcode verification plan, code-location trial, and release record.